This article provides a comprehensive guide on how to effectively clean your refrigerator’s condenser coils. You’ll learn why this often-overlooked maintenance task is crucial for your fridge’s efficiency and lifespan. This is essential reading for anyone looking to save on energy bills and avoid costly appliance repairs, ensuring their refrigerator runs smoothly for years.
1. Why is Cleaning Your Refrigerator Coils Important?
Cleaning your refrigerator coils is a crucial maintenance task that often gets overlooked. The condenser coils are a vital part of your refrigerator’s cooling system. Their primary function is to dissipate heat from the refrigerant, allowing your fridge to maintain a cool temperature inside. Over time, these coils can accumulate dust, dirt, pet hair, and other debris, which can significantly impact the efficiency of your appliance.
When the coils are dirty, they become insulated, making it harder for the refrigerator to release heat. This forces the compressor to work harder and longer to maintain the desired temperature, leading to increased energy consumption and higher electricity bills. Additionally, a dirty condenser coil can put extra strain on the compressor, potentially shortening the lifespan of your expensive refrigerator. Regularly cleaning the refrigerator coil can help ensure that your appliance runs efficiently, saving you money on energy costs and preventing costly repairs or premature replacement.
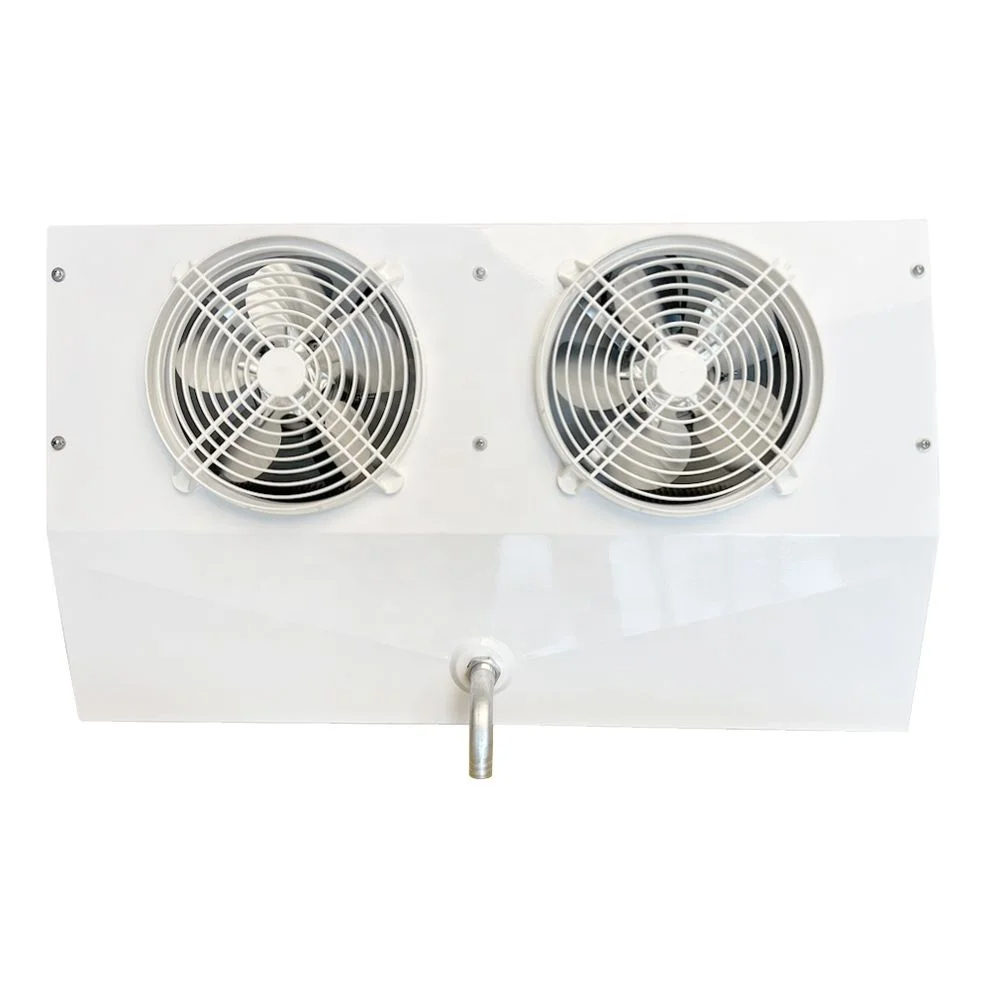
2. Where are the Condenser Coils Located on a Refrigerator?
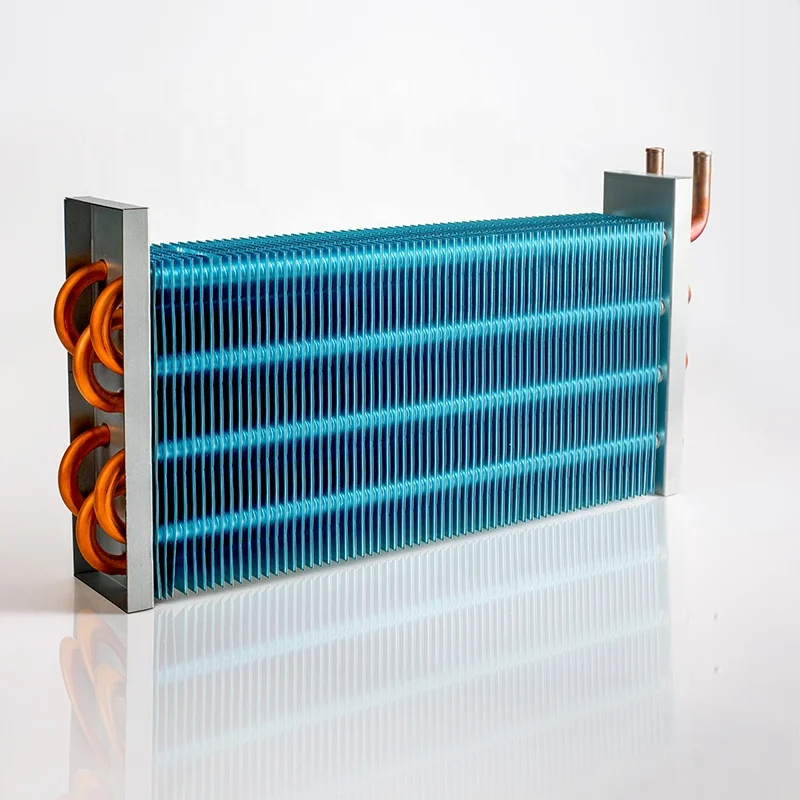
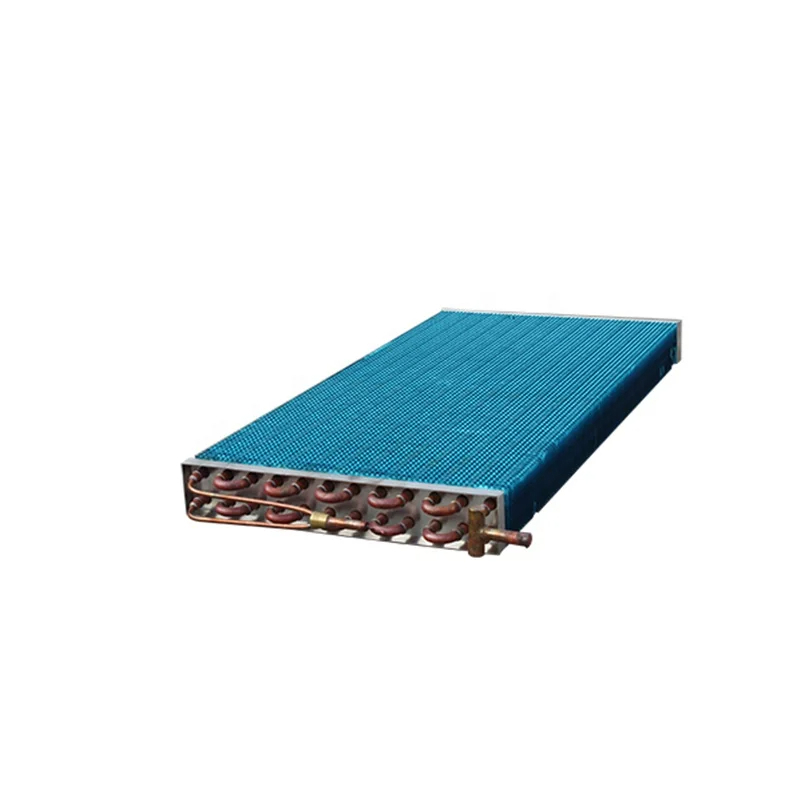
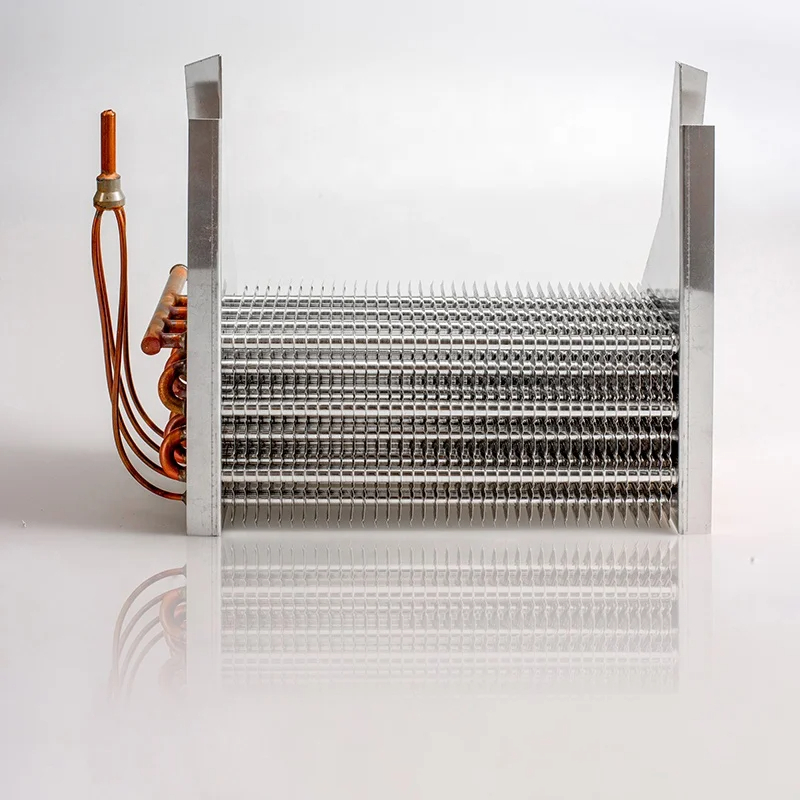
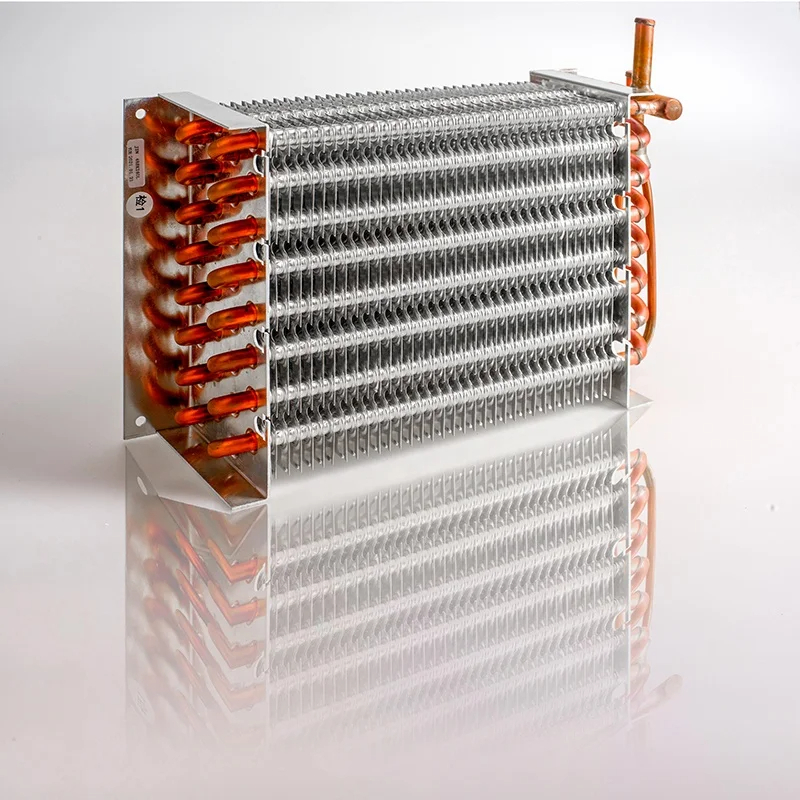
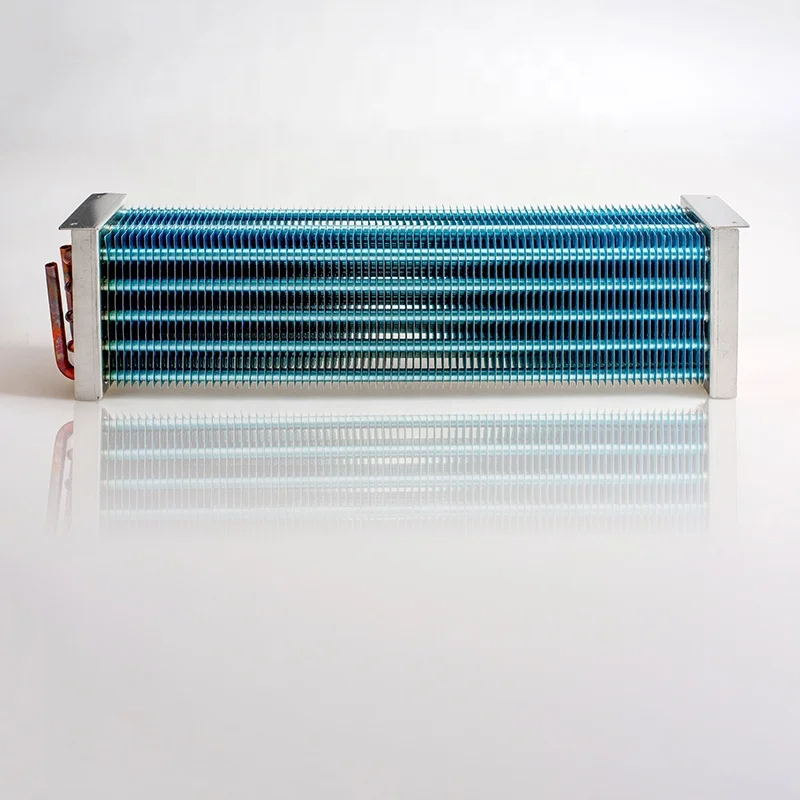
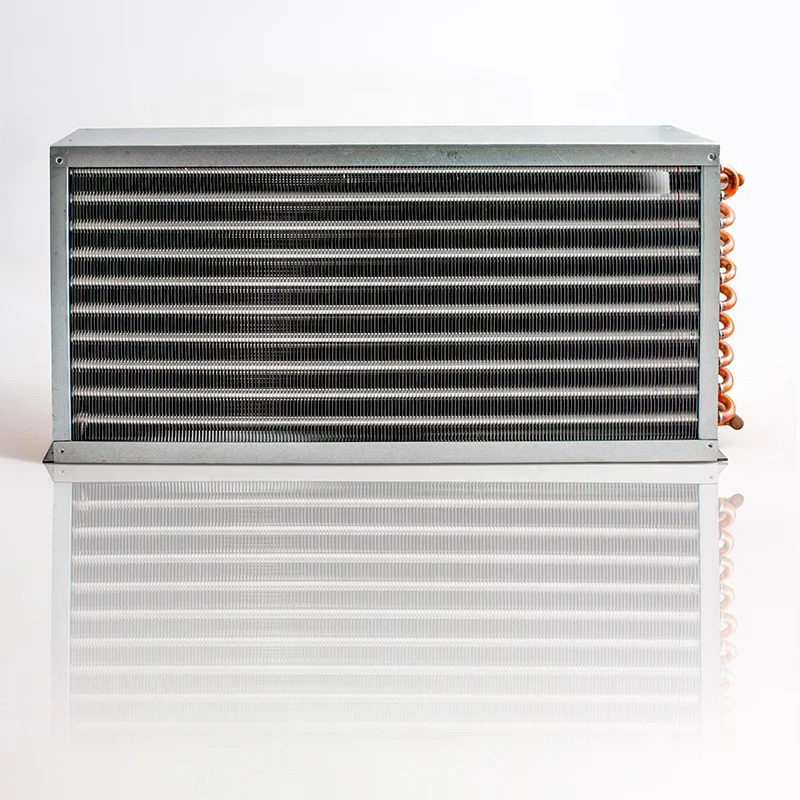
The location of the condenser coils varies depending on the make and model of your refrigerator. Generally, the condenser coils are located either on the back of the fridge or underneath the appliance, behind a toe grille at the bottom of the refrigerator. On older models, the coils are on the back of the unit, exposed and easily accessible. In this case, you may notice a large, radiator-like grid of coils attached to the refrigerator back.
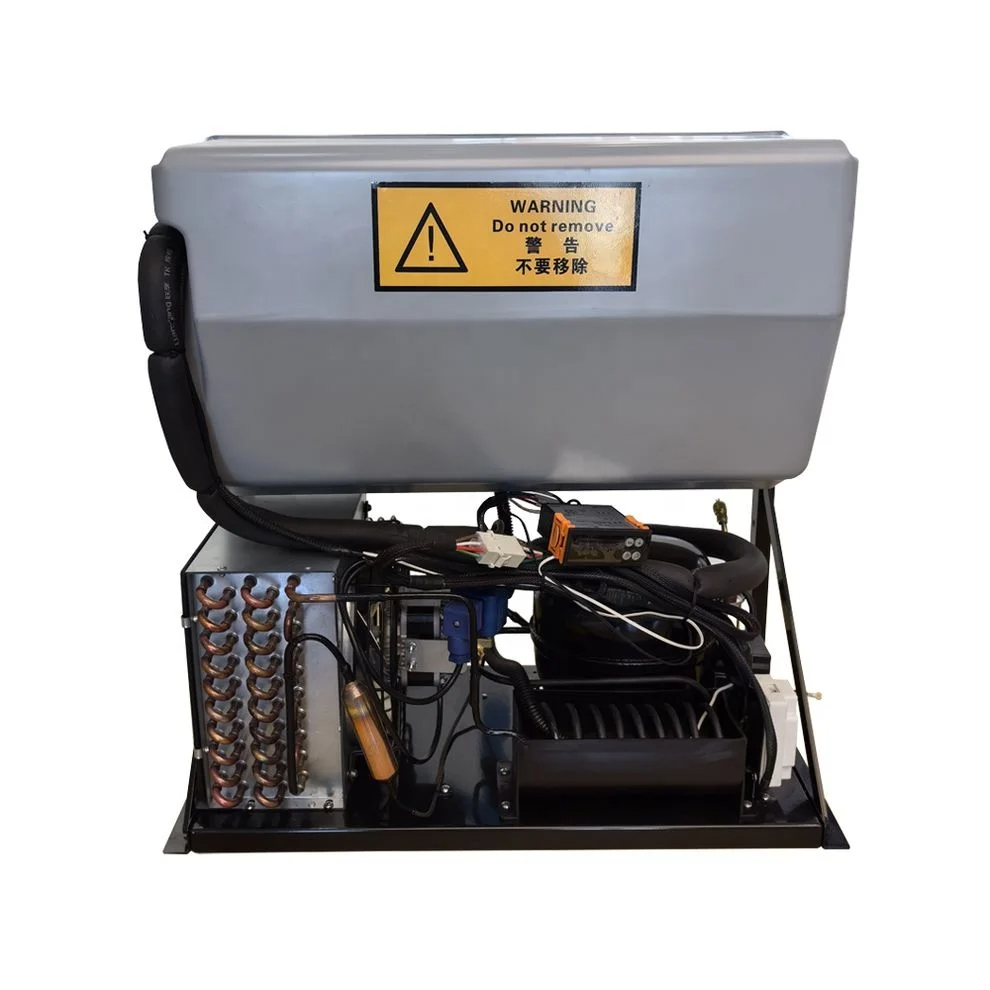
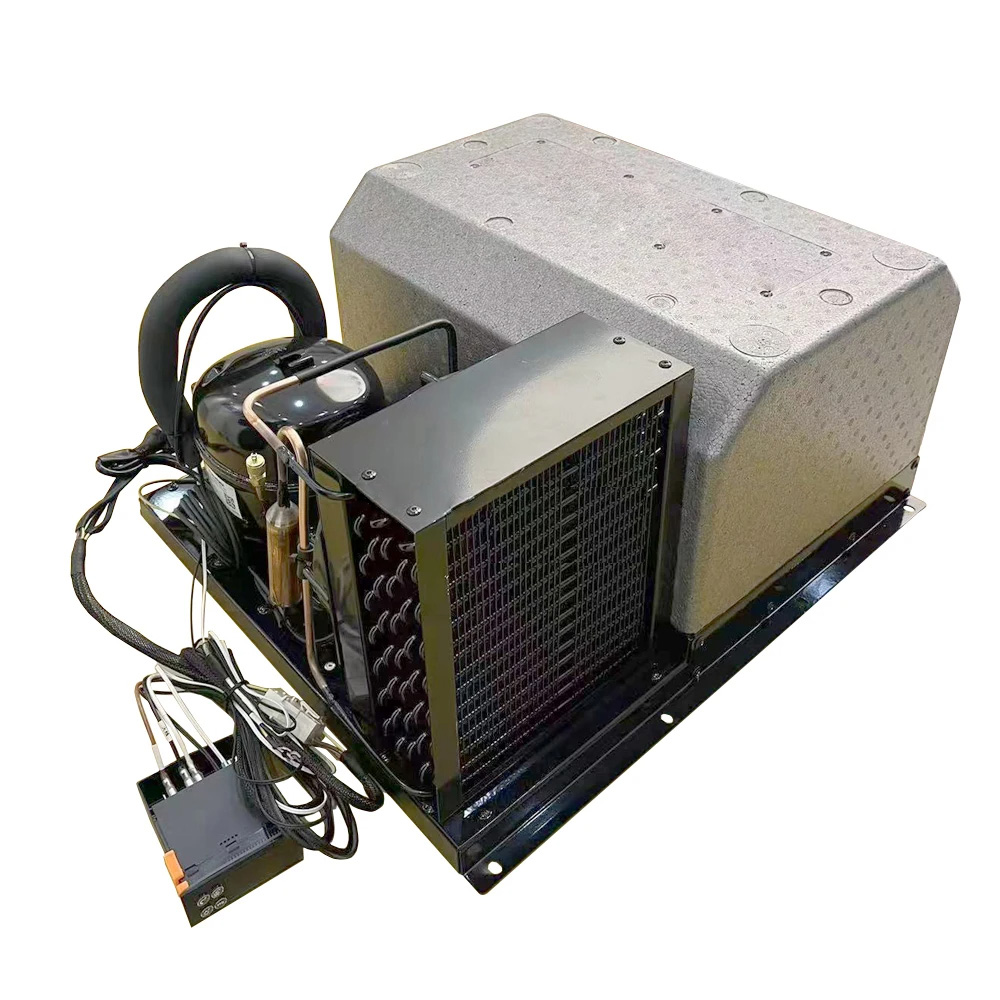
On newer refrigerators, the condenser coils are behind a panel or grille at the bottom of the fridge. This design helps to protect the coils and gives the appliance a cleaner look. To determine the exact location of the coils on your specific refrigerator model, it’s best to consult the owner’s manual. Once you’ve located the coils, you can assess their condition and determine whether they need cleaning. If you see a significant buildup of dust and debris, it’s time to clean your fridge coils.
3. How Often Should You Clean Refrigerator Condenser Coils?
The frequency of refrigerator coil cleaning depends on several factors, including the age of your appliance, the environment it’s in, and whether you have pets. As a general rule, it’s recommended to clean the condenser coils at least once or twice a year. However, if you have pets that shed a lot, or if your refrigerator is in a particularly dusty area, you may need to clean the coils more often, such as every three to six months. Pet hair can accumulate on the coils, further reducing their efficiency.
It’s a good idea to visually inspect the coils every few months to check for dust and debris buildup. If you notice a significant accumulation, it’s time for a cleaning, even if it hasn’t been a full year. Regular coil cleaning will keep your fridge running efficiently and help prevent potential problems. Neglecting this maintenance task can lead to decreased cooling performance, increased energy consumption, and potential damage to the appliance. Keep an eye on your coils, and if they look dirty, take the time to clean them.
Before you start cleaning your refrigerator coils, it’s essential to gather the right tools for the job. Fortunately, you probably already have most of the necessary items in your home. You’ll need a vacuum cleaner with a hose attachment, preferably one with a brush attachment to help loosen dirt and debris from the coils. A coil cleaning brush is another highly recommended tool and can be very helpful, especially a refrigerator coil cleaning brush. This long, flexible brush is specifically designed to clean hard-to-reach areas like the spaces between the refrigerator coils.
In addition to the brush and vacuum, you may also need a screwdriver to remove the grille or access panel if the coils are located at the bottom of the fridge. A flashlight can be helpful for inspecting the coils and ensuring you’ve removed all the dirt. Some people also like to use a damp cloth to wipe down the area around the coils after vacuuming. With these simple tools, you’ll be well-equipped to tackle the coil cleaning process and keep your fridge in top condition. You can use a vacuum cleaner to complete this task or use a refrigerator coil brush.
5. How to Prepare Your Refrigerator for Coil Cleaning?
Proper preparation is key to safely and effectively cleaning your refrigerator coils. The first step is to unplug your refrigerator or turn off the power at the circuit breaker. This is a crucial safety measure to prevent electrical shock while you’re working on the appliance. Once the power is off, you’ll need to gain access to the coils.
If the condenser coils are located on the back of the fridge, you’ll need to carefully pull the fridge away from the wall to create enough space to work. Be sure to protect your floors when moving the refrigerator. If the coils are located at the bottom of the refrigerator, you’ll need to remove the toe grille, which is usually held in place by screws or clips. Once you have access to the coils, take a moment to inspect them and assess the level of cleaning required. This preparation process may seem like a hassle, but it’s essential for a thorough cleaning and to keep your fridge running smoothly.
6. What is the Step-by-Step Process to Clean Refrigerator Coils?
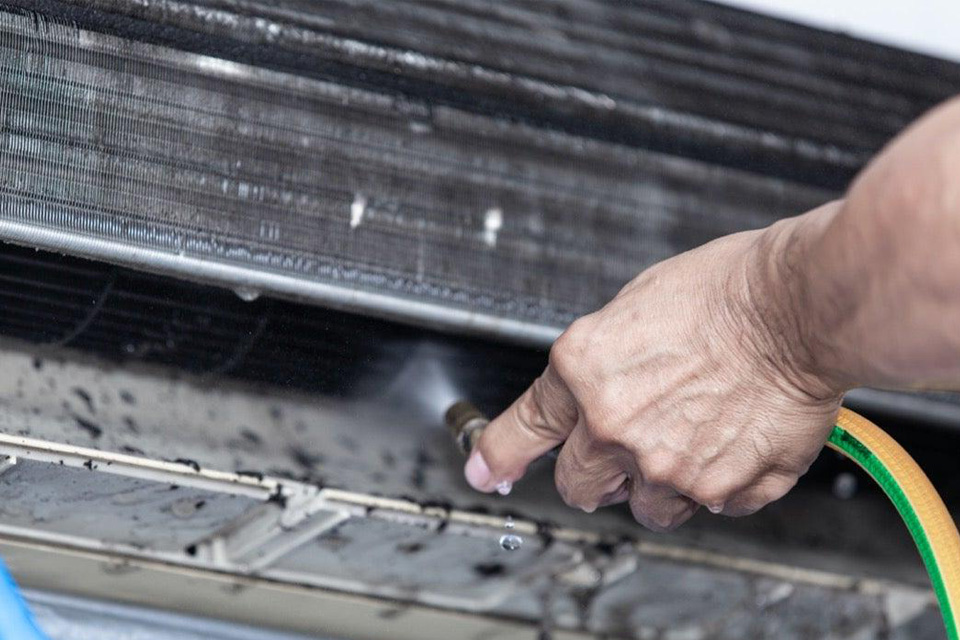
Once you’ve prepared your refrigerator and gathered your tools, you can begin the coil cleaning process. If the coils are on the refrigerator back, start by using your vacuum cleaner with the hose and brush attachment to remove loose dust and debris from the coils. Gently move the brush back and forth across the coils, being careful not to bend or damage the delicate fins. Work from top to bottom, ensuring you cover the entire surface area of the coils. The condenser coils are usually located either on the back of the fridge or underneath the appliance, behind a toe grille.
After vacuuming, use your coil cleaning brush to dislodge any stubborn dirt or debris trapped between the coils. Gently insert the brush into the spaces between the coils and move it back and forth to loosen the dirt. Then, use a vacuum again to remove the dislodged debris. If the coils are particularly dusty or greasy, you can use a damp cloth to wipe them down after vacuuming. Once you’ve finished cleaning, reattach the grille if necessary, and carefully push the fridge back into place. Remember to plug the refrigerator back in or turn the power back on at the circuit breaker. Cleaning the refrigerator coils is a simple process that only takes a few minutes.
7. How to Clean Condenser Coils Located at the Back of the Fridge?
Cleaning condenser coils located at the back of the fridge requires a slightly different approach than cleaning coils located at the bottom. First, you’ll need to unplug the fridge and carefully pull the fridge away from the wall to access the coils. Be sure to have someone help you move the appliance to avoid injury or damage to your floors. Once you have access to the refrigerator back, you’ll likely see a large, radiator-like grid of coils.
Use your vacuum cleaner with the hose and brush attachment to remove loose dust and debris from the coils. Gently brush across the coils, being careful not to bend the delicate fins. Then, use your coil cleaning brush to dislodge any stubborn dirt trapped between the coils. After cleaning, inspect the area around the coils and wipe down any dusty surfaces with a damp cloth. When you’re finished, carefully push the fridge back into position, and plug it back in. Regular cleaning of coils located on the back of the fridge can help keep your appliance running efficiently and prevent potential problems.
8. How to Clean Condenser Coils Located at the Bottom of the Fridge?
For refrigerators with condenser coils located at the bottom, the cleaning process is a bit different. First, unplug the refrigerator or turn off the power at the circuit breaker. Then, locate the toe grille at the bottom of the fridge. This grille is usually held in place by screws or clips. You may need to remove it using a screwdriver or by gently prying it off.
Once the grille is removed, you’ll have access to the condenser coils, which are typically located next to the compressor. Use your vacuum cleaner with the hose and brush attachment to remove loose dust and debris from the coils. Then, use your coil cleaning brush to dislodge any stubborn dirt trapped between the coils. Be sure to clean the area around the coils as well, as dust and debris can accumulate there. After cleaning, reattach the toe grille and plug the refrigerator back in. Cleaning coils located at the bottom of the fridge may require a bit more effort, but it’s essential for maintaining the efficiency of your appliance.
9. What are the Best Practices for Refrigerator Coil Cleaning?
To ensure a thorough and effective refrigerator coil cleaning, it’s important to follow some best practices. First, always unplug your refrigerator or turn off the power before starting the cleaning process. This is a crucial safety measure to prevent electrical shock. Second, use the right tools for the job, including a vacuum cleaner with a hose and brush attachment, and a coil cleaning brush designed for this purpose.
When cleaning the coils, be gentle and avoid bending or damaging the delicate fins. Work from top to bottom, and make sure to clean the entire surface area of the coils. If the coils are particularly dirty, you may need to repeat the vacuuming and brushing process several times. Additionally, it’s a good idea to clean the area around the coils, including the condenser fan and the drain pan, if accessible.
Refrigerator Coil Cleaning Tips
| Tip | Description |
|---|
| Unplug the refrigerator | Always unplug the refrigerator or turn off the power at the circuit breaker before cleaning the coils to prevent electrical shock. |
| Use the right tools | Use a vacuum cleaner with a hose and brush attachment, and a coil cleaning brush designed for this purpose. |
| Be gentle | Avoid bending or damaging the delicate fins on the coils. Work slowly and carefully. |
| Clean the entire surface area | Work from top to bottom, and make sure to clean the entire surface area of the coils, including the spaces between the fins. |
| Repeat if necessary | If the coils are particularly dirty, you may need to repeat the vacuuming and brushing process several times. |
| Clean the surrounding area | Clean the area around the coils, including the condenser fan and the drain pan, if accessible. |
| Inspect regularly | Inspect the coils every few months for dust and debris buildup, and clean them as needed. |
| Schedule professional maintenance | Have a qualified appliance technician inspect and clean your refrigerator coils as part of an annual maintenance checkup. |
| Consult the owner’s manual | Refer to your refrigerator’s owner’s manual for specific instructions on how to access and clean the condenser coils. |
| Don’t use harsh chemicals or abrasive cleaners | Avoid using harsh chemicals or abrasive cleaners on the coils, as they can damage the fins or other components. Stick to using a vacuum, coil cleaning brush, and a damp cloth if necessary. |
10. When Should You Call a Professional for Refrigerator Appliance Service?
While cleaning refrigerator coils is a relatively simple task that most homeowners can handle, there are certain situations when it’s best to call a professional for appliance service. If you’re not comfortable working around electrical appliances or if you’re unsure about the location of the condenser coils on your specific refrigerator model, it’s a good idea to seek professional help. Additionally, if you notice any signs of damage to the coils, such as bent fins, leaks, or corrosion, it’s important to have a qualified technician inspect the appliance.
A professional appliance service technician will have the expertise and tools to thoroughly clean and inspect your refrigerator coils, as well as diagnose and repair any other potential issues with your appliance. They can also provide valuable advice on how to maintain your refrigerator and prevent future problems. While there is a cost associated with professional appliance service, it can be well worth the investment to ensure the longevity and efficiency of your expensive refrigerator.
Summary
Here are the 10 most important things to remember about cleaning refrigerator condenser coils:
- Cleaning your refrigerator coils is essential for maintaining the efficiency and lifespan of your appliance.
- Condenser coils are typically located either on the back of the fridge or at the bottom of the refrigerator, behind a toe grille.
- You should aim to clean refrigerator coils at least once or twice a year, or more often if you have pets or live in a dusty environment.
- To clean refrigerator coils, you’ll need a vacuum cleaner with a hose and brush attachment, and a coil cleaning brush.
- Always unplug your refrigerator or turn off the power before cleaning the coils.
- To clean the condenser, carefully pull the fridge away from the wall if the coils are on the back, or remove the toe grille if they’re at the bottom.
- Use a vacuum and coil brush to remove dust and debris from the coils, being careful not to bend the fins.
- For coils on the fridge back, work from top to bottom, cleaning the entire surface area.
- For coils at the bottom of the fridge, remove the grille and clean the area around the coils as well.
- If you’re not comfortable cleaning the coils yourself, or if you notice any damage, call a professional for appliance service.
By following these tips and regularly cleaning your refrigerator coils, you can keep your fridge running efficiently, save money on energy bills, and extend the life of your appliance. This simple maintenance task is a small investment that can pay big dividends in the long run.